
DIY Arduino IR remote control car

Chit Ko Ko
Contributor
4 min read
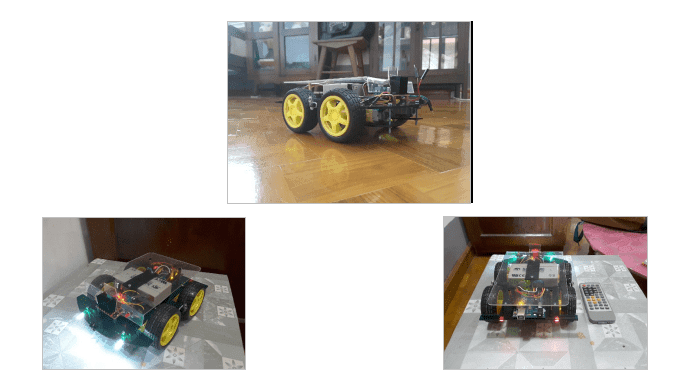
DIY Arduino IR remote control car
Require parts :
1. Arduino UNO(can use nano,mega ..)
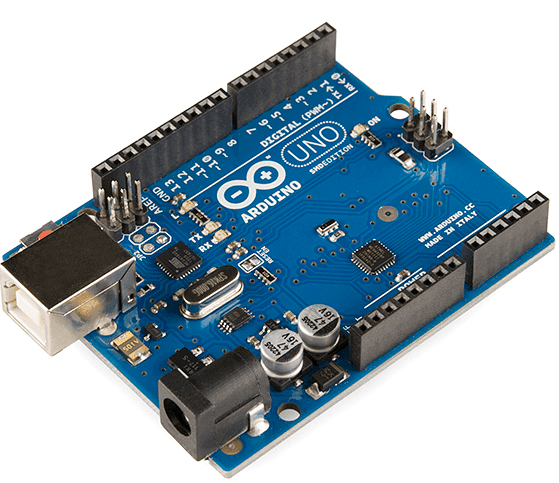
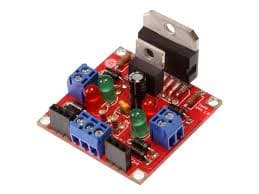
2.L298N(motor driver)
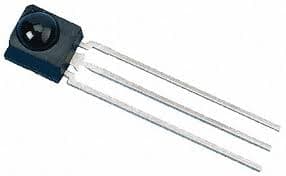
3. IR receiver
4. Robotic wheels
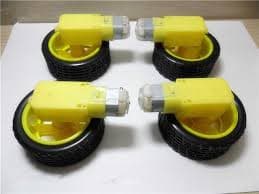
5. LEDs (4 LEDs in this project)

6. Some jumper cables
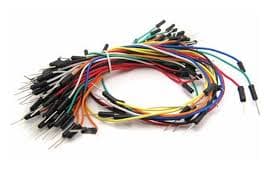
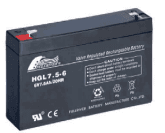
7. a battery
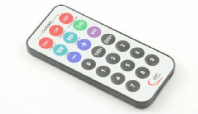
8.IR transmit remote
9.Cart and some suppliers ( car frame ကို မိမိတို့ဆန္ဒရှိသလိုတည်ဆောက်နိုင်ပါသည်)
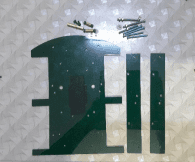
ပထမဦးစွာroboticwheelsများအား L298N(motor driver) သို့ ချိတ်ဆက်ပါမည်။ထိုသို့ချိတ်ဆက်ရန်အတွက် robotic wheels 4 လုံးအား cart တွင်တပ်ဆင်ပါ(wheels များတွင် jumper ကြိုးများ solder ပြီးဖြစ်ရပါမည်)။ motor driver L298N အားလည်းတပ်ဆင်ပါ။ ပြီးလျင် roboic wheels များ၏ motor လည်သည့် directionကို wheelနှစ်လုံးစီချိန်ကိုက်ရန်လိုအပ်ပါသည်။ထိုသို့ပြုလုပ်ရန်အတွက်cart၏ဘယ်ဘက်ရှိအရှေ့wheel မှကြိုးနှစ်စ အားpowerပေးပြီးUNO ရဲ့5V,GNDတို့နှင့်ချိတ်ဆက်ပြီးwheelအား run ကြည့်ပါ forward
(counterclosewise)လည်ရမည်၊( reverse လည်နေလျှင်ကြိုးကိုလှည့်တပ်ပါ) ပြီးလျှင် forward လည်နေစဉ် joinထားသောwheel၏5Vကြိုးအားမှတ်သားထားပါ။ထို့နောက်cart၏ဘယ်ဘက်ရှိအနောက်wheelကိုလည်း forwardလည်စေပြီး 5Vကြိုးအားမှတ်သားပါ။ ပြီးလျှင် ၎င်း 5Vနှစ်ကြိုးအားပူးပြီး L298N motor driver ၏ OUT 1 port တွင် ချိတ်ဆက်ပါကျန်GND နှစ်ကြိုးအားOUT 2တှငျခြိတျဆကျပါ။ထို့နောက် ညာဘက်မှ wheels နှစ်ခုအားလည်းထိုကဲ့သို့ direction စမ်းသပ်ပြီး 5V ကြိုးနှစ်စအားOUT 3တွင်ချိတ်ဆက်ပါ ကျန်GND နှစ်ကြိုးအားOUT4တွင်ချိတ်ဆက်ပါ။အထက်ပါအဆင့်နှစ်ဆင့်အားသေချာစွာတပ်ဆင်ပြု လုပ်ရန်လိုအပ်ပါသည် သို့မှသာနောက်ပို်င်းတွင် direction မမှန်ခြင်း ပြသနာပြန်ဖြေရှင်းရခြင်းများမှကင်းဝေး ပါမည်။
အဆင့် 2
ဆက်လက်ပြုလုပ်ရန်မှာမိမိ control လုပ်မည့် IR code ကိုသိရှိရန်လိုအပ်ပါသည်။ဦးစွာ IR receiver နှင့် UNO ကိုချိတ်ဆက်ပါ

IR out to UNO pin 11
IR GND to UNO GND
IR 5V to UNO 5V
ပြီးနောက် IR library ကိုArduino IDE သို့ add ပေးရမည်
https://github.com/z3t0/Arduino-IRremote မှ Zip file ကို down ပြီးArduino IDE သို့ add ပေးရမည်
Arduino IDE >> sketch >>include library>> add .zip file
ထို့နောက် မိမိ remote မှ IR code ကိုသိရှိရန် အောက်ပါ Program ကို UNO သို့ သွင်းပြီး serial monitor ကို ကြည့်ပါ
/* The IR sensor’s pins are attached to Arduino as so:
Pin 1 to Vout (pin 11 on Arduino)
Pin 2 to GND
Pin 3 to Vcc (+5v from Arduino)
*/
/*******************CODE BEGINS HERE********************/
#include <IRremote.h>
int IRpin = 11;
IRrecv irrecv(IRpin);
decode_results results;
void setup()
{
Serial.begin(9600);
irrecv.enableIRIn(); // Start the receiver
}
void loop()
{
if (irrecv.decode(&results)){
Serial.println(results.value,HEX); // Print the Serial ‘results.value’
irrecv.resume(); // Receive the next value
}
}
Remote မှ ခလုတ်များနှိပ်ကြည့်သောအခါ serial monitor တွင် သက်ဆိုင်ရာခလုတ်၏ HEX code ကိုတွေ့ရ ပါမည်။သတိထားရန်အချက်မှာremoteအားIRreceiverသို့ချိန်လိုက်သည့်အခါ နံပါတ်များထွက်နေတက်ခြင်း ခလုတ်အားဖိနှိပ် ထားလျှင် FFFFFF များထွက်တက်ပါသည်။ ခလုတ်တစ်ချက်နှိပ်စဉ်ထွက်ပေါ်လာသော HEX ကုတ်မှာယင်းခလုတ်၏သက်ဆိုင်ရာcodeဖြစ်ပါသည်။ယခုprojectအတွက်controlခလုတ်ပေါင်း5ခုလိုအပ်သည့် အတွက်မိမိနှစ်သက်ရာခလုတ်5ခု ၏ code အားမှတ်သားထားပါ final program တွင်ပြန်သုံးရမည်ဖြစ်သည်။
အထက်ပါအဆင့်2ဆင့်ပြီးသွားသည့်အခါ ပါဝင်သော parts များ(wheels,IRreceiver,LEDs,battery, L298N. arduino UNO)ကို cart တွင်နေရာချပါ။ပြီးလျင် parts များအား jumper ကြိုးများဖြင့်တွဲဆက်ပါမည်။wheels 4 လုံးနှင့် L298N မှာအပေါ်အဆင့်ကတည်းကတွဲဆက်ပြီဖြစ်၏။ဆက်လက်ပြီးတွဲဆက်ရန်မှာ …..
1.For IR to UNO …
IR OUT pin to UNO pin 4
IR GND pin to UNO GND pin
IR 5V pin to UNO 5V pin
2.For L298N to UNO ….
L298N GND pin to UNO GND pin
L298N 5V pin to UNO 5V pin
L298N IN1 pin to UNO pin 10
L298N IN2 pin to UNO pin 9
L298N IN3 pin to UNO pin 6
L298N IN4 pin to UNO pin 5
3.For Battery to UNO and L298N
Battery 6V(red)pin to L298N 12V port
Battery 6V(red)pin to UNO Vin
Battery GND(black)pin to L298N GND port
4.LEDs to UNO
Front right LED’s anode pin to UNO A4
Front left LED’s anode pin to UNO A5
Back right LED’s anode pin to UNO pin 2
Back left LED’s anode pin to UNO pin 3
All LED’s cathode pin to UNO GND
5.Power switch ကို battery နှင့် L298N ကြားတွင်တပ်ဆင်ပါ
**5V နှင့် GND ကြိုးများ မလောက်လျင် common ချိတ်ဆက်ပါ**
Parts များအားလုံးတပ်ဆင်ပြီးသောအခါ မောင်းရန်အသင့်ဖြစ်နေသော ကားလေးကို ရရှိနေပေပြီ နောက်ဆုံးအဆင့် နောက်ဆုံး program သွင်းရန်သာကျန်ပါတော့သည်။
Final program
https://www.dropbox.com/s/te6wljoxv2q0xdb/Final_IR_control_car.ino?dl=0
ထိုprogramကို down ပြီး UNO သို့ install ကာ control လုပ်နိုင်ပါပြီ။
**အရေးကြီးသည်မှာအဆင့် 2တွင်မှတ်ထားခဲ့သော မိမိတို့၏ IR HEX code များကို program ရှိကုတ်များနေရာတွင်အစားထိုးရန် လိုပါသည်။**
ထိုသို့ထည့်သည်အခါ 0x ၏အနောက်တွင်ထည့်ပါ 0x မပါလျှင် အလုပ်လုပ်မည်မဟုတ်ပါ၊
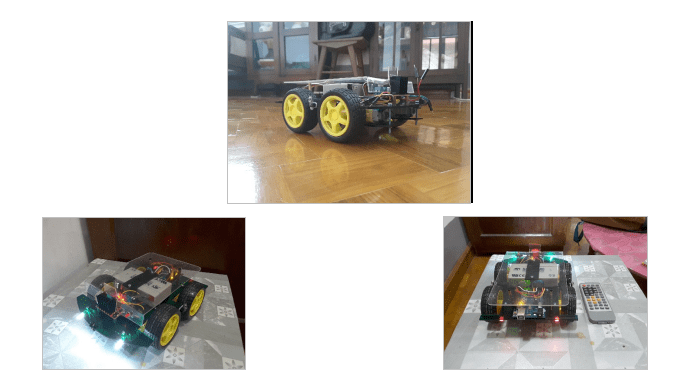
ယခုprojectအားအောင်မြင်စွာပြုလုပ်ပြီးသည်အခါ အခြားနောက်ထပ် Blue-tooth control,radio RF control car project များအတွက် လွယ်ကူသွားပါမည်။
ကျေးဇူးတင်ပါသည်
for more information please contact to : primarysanzinmail@gmail.com
Related posts

ဘာသာရပ်ဆိုင်ရာ လေ့လာစရာ websites များ
ဘာသာရပ်ဆိုင်ရာ လေ့လာစရာ websites များ ကျွန်တော်တို့သည် မိမိတို့ ဝါသနာပာရာတို့ကို အချိန် နှင့် အမျှ လေ့လာချင်ကြပါသည် ။ထို့ကြောင့် သူငယ်ချင်းတစ်ဦး ဖြစ်သူ Victoire Rio ၏ အကူအညီဖြင့်…
 Chit Ko Ko
5 min read

Ubuntu Myanmar LoCo Team
Ubuntu Myanmar LoCo Team Ubuntu Myanmar LoCo Team Ubuntu Myanmar LoCo Team is an officially verified team by the Ubuntu Council established with the objective of providing support…
Chit Ko Ko2 min read
Variety Wallpaper Changer for Ubuntu
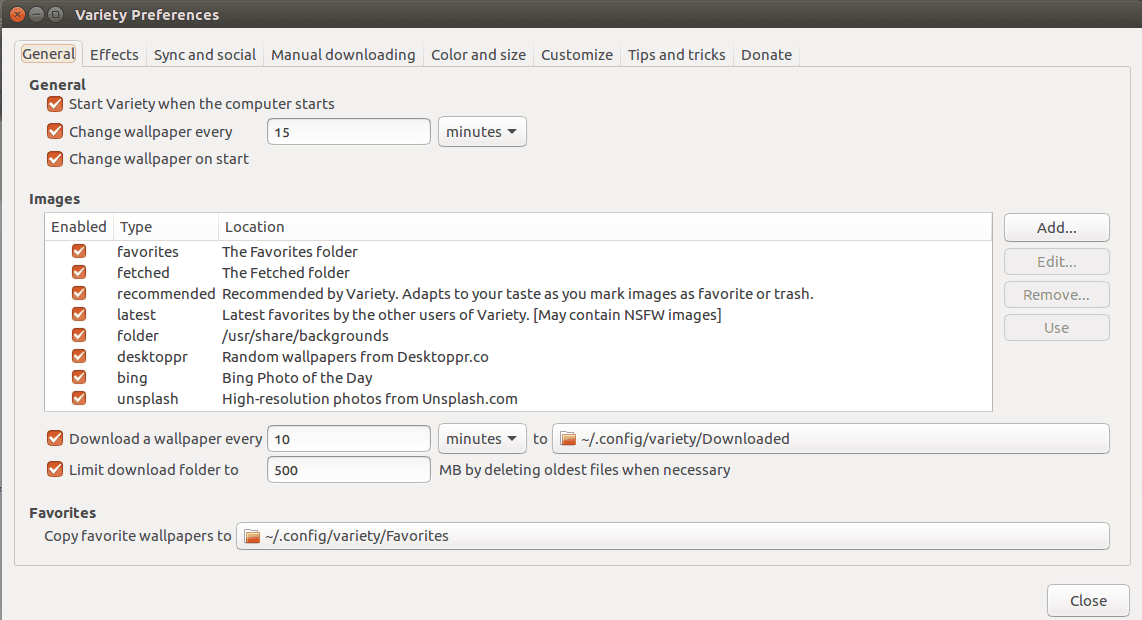
Variety Wallpaper Changer for Ubuntu Terminal ကိုဖွင့်ပါ။ ပြီးနောက် အောက်ပါ command တို့ကိုရိုက်ပါ ။ sudo add apt repository ppa:peterlevi/ppa sudo apt get update sudo apt get…
Chit Ko Ko1 min read